3-Day Itinerary Rainy-day swaps included
3-day Hobart itinerary:Salamanca, Port Arthur and MONA
This is a 3-day Hobart itinerary. Day one covers the CBD and the Salamanca waterfront, day two heads out to Port Arthur and back via Rosny Hill to Battery Point, and day three moves from the botanical gardens through North Hobart to MONA at Berriedale.
✓ Hours, ratings, and directions come from Google Places · routes are computed from real coordinates · updated November 13, 2026
How this guide is made
Produced with AI assistance and reviewed against live data sources. Facts such as hours, ratings, and location come from Google Places; images are licensed or public domain. Details can change — please verify before visiting. Editorial policy
Day 1 · Collins Street browsing to the Salamanca waterfront
The day starts at 131 Collins St in Hobart's CBD before heading down to the waterfront at Elizabeth Street Pier for seafood. From there it wraps up at Salamanca Place, where the evening stop anchors the historic warehouse strip.
- Morning
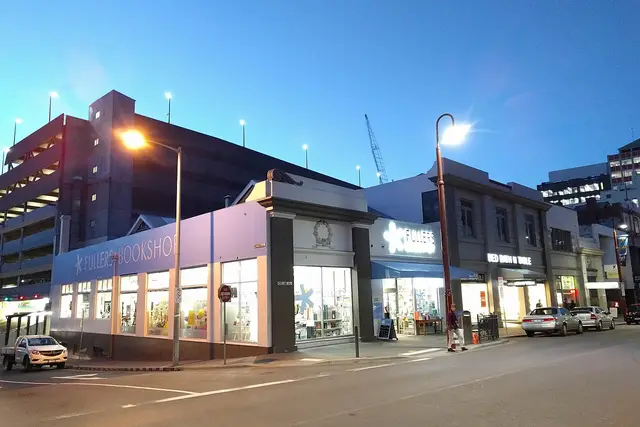
Fullers Bookshop
Fullers Bookshop is a well-rated spot in Hobart's CBD, an easy starting point for a morning browse before the day moves toward the water.
Time to allow: ~30 min - Take the subway or a taxi Directions →
- Lunch
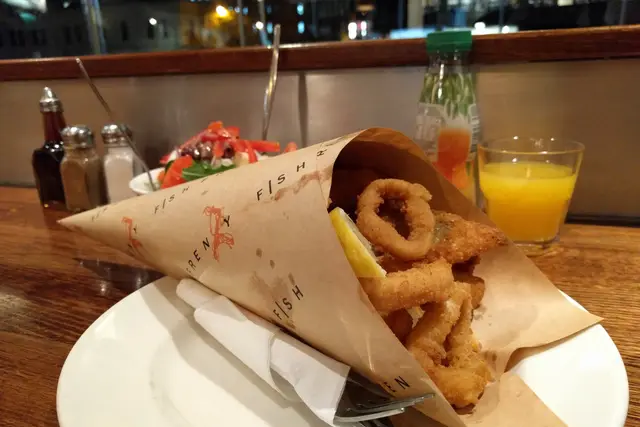
Fish Frenzy
Fish Frenzy serves fried and grilled seafood right on Elizabeth Street Pier, making it a natural lunch stop overlooking Sullivans Cove.
Time to allow: ~53 min - Take the subway or a taxi Directions →
- Evening

Salamanca Market
Salamanca Market fills Salamanca Place with produce and stalls, and the two to three hour dwell leaves room to wander up Kelly's Steps into Battery Point afterward.
Closed Monday, Tuesday, Wednesday, Thursday, Friday, Sunday Time to allow: ~2.5 h
Day 2 · Port Arthur ruins to the eastern shore and back to Salamanca
This day ranges furthest afield, starting with a long visit to Port Arthur on the Tasman Peninsula before crossing back toward Hobart. It continues at Rosny Hill Lookout on the eastern shore for river and mountain views, then finishes at Salamanca Arts Centre in Battery Point.
- Morning
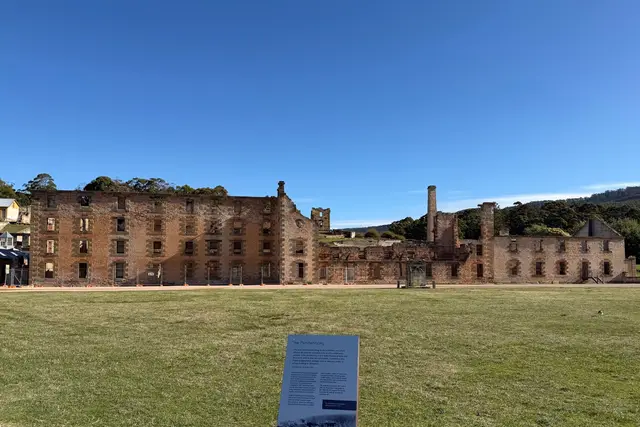
Port Arthur Historic Site
Port Arthur Historic Site is a former convict settlement with enough on site, including a harbour cruise and the Isle of the Dead, to fill the morning and into the afternoon.
Time to allow: ~1.5 h - Take the subway or a taxi Directions →
- Afternoon
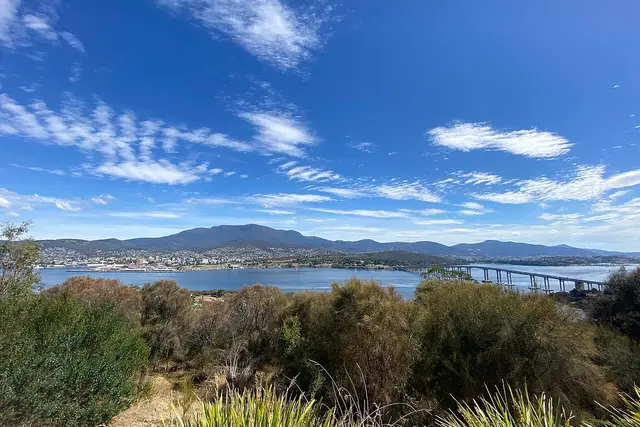
Rosny Hill Lookout
Rosny Hill Lookout is a free hilltop stop on the eastern shore with views back across the Derwent River to the city and kunanyi/Mount Wellington.
Time to allow: ~30 min - Take the subway or a taxi Directions →
- Evening
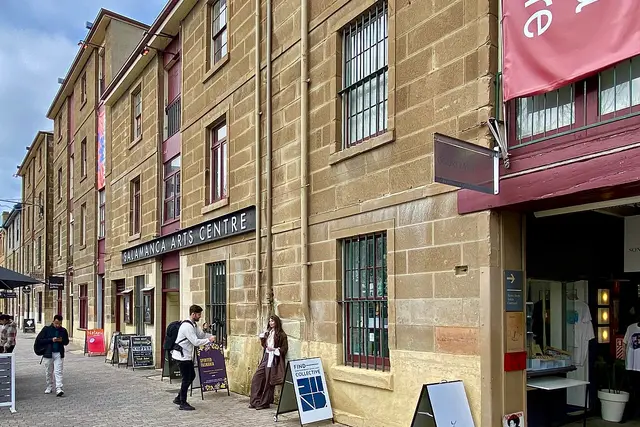
Salamanca Arts Centre
Salamanca Arts Centre fills a row of sandstone warehouses in Battery Point with galleries and studios, a fitting way to close out time in the Salamanca area.
Time to allow: ~1.5 h
Day 3 · Botanical gardens to North Hobart brunch and MONA
Morning begins at the Royal Tasmanian Botanical Gardens on Lower Domain Road, with plenty of time to wander the grounds. The day then moves to North Hobart for a stop at Born In Brunswick, before heading north to Berriedale to close out the evening at MONA.
- Morning
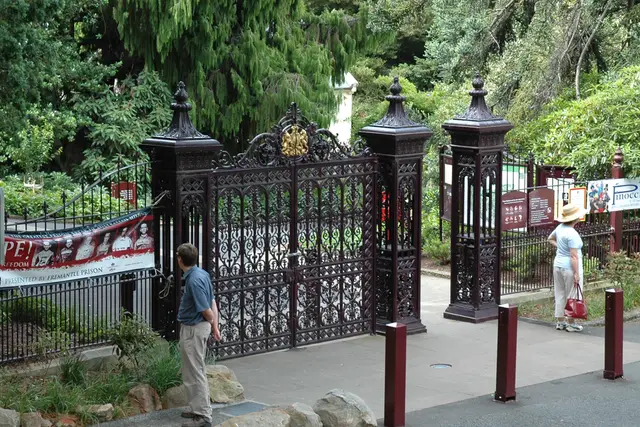
Royal Tasmanian Botanical Gardens
The Royal Tasmanian Botanical Gardens on the Queens Domain has enough space and quiet to anchor a long, unhurried morning.
Quietest: 8–10 AM Time to allow: ~4 h - Take the subway or a taxi Directions →
- Afternoon
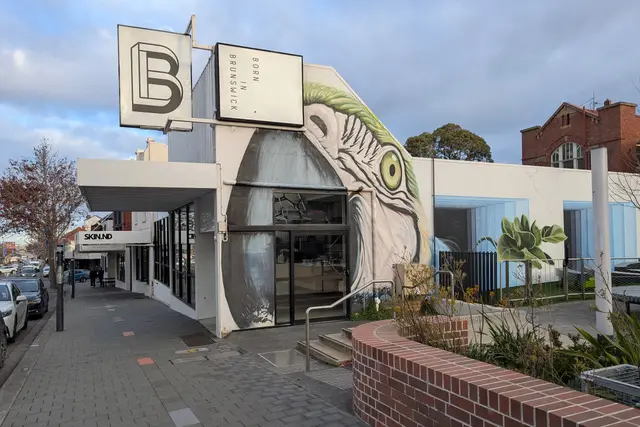
Born In Brunswick
Born In Brunswick is a well-rated brunch spot in North Hobart, a straightforward stop between the gardens and the trip up to Berriedale.
Time to allow: ~30 min - Take the subway or a taxi Directions →
- Evening
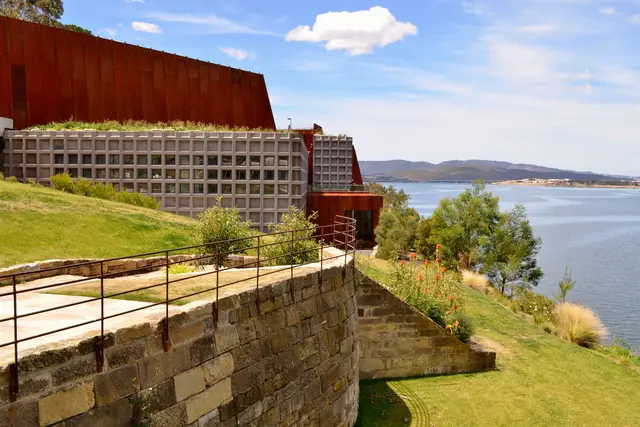
MONA
MONA's sandstone-cut galleries at Berriedale give the evening its centerpiece, with a long dwell time built for unhurried exploring.
Closed Tuesday, Wednesday Book ahead Time to allow: ~3.5 h
Frequently asked questions
How should I get around for this 3-day Hobart itinerary?
Several stops, like the walk from Fullers Bookshop to Fish Frenzy or the trip from Port Arthur to Rosny Hill, are listed as beyond walking distance, so plan on transit or a car between them.
Is this itinerary better suited to a particular day of the week?
Salamanca Market on day one and MONA's calmer days on day three both depend on which days of the week they're open, so check those details before locking in dates.
How much time should I set aside for Port Arthur on day two?
Port Arthur Historic Site alone has a 90 minute dwell built in and sits a good distance from Hobart, so day two is the most travel-heavy of the three.
What's the pace like across the three days?
Day one stays centered around the CBD and Salamanca waterfront, day two ranges furthest out to the Tasman Peninsula and back, and day three moves from the botanical gardens to North Hobart and on to Berriedale.
Should I plan for rain on any of these days?
A rain-day alternative is listed for day one only, so day one has the most flexibility if the weather turns.
Plan your trip to Hobart
Australia eSIM & staying connected →
Some links above are affiliate links — if you book through them, Wander Atlas earns a small commission at no extra cost to you. It's how we keep every guide free.